30th March 2009

Countdown to SVA

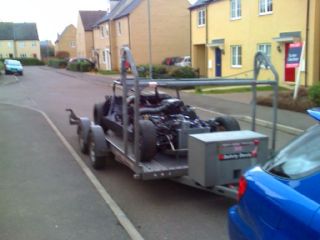
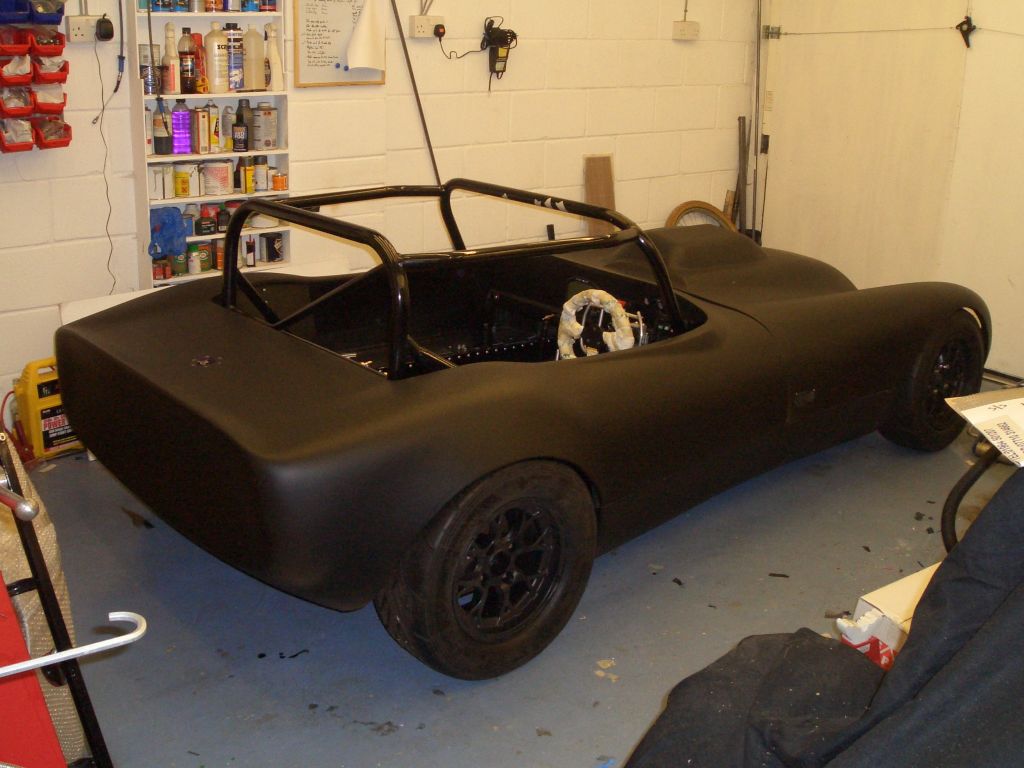
As I think I've mentioned I want to make this car road-legal. Since it has to be in road-legal spec to go racing in the first place, it seems a bit daft not to, especially given the faff that can be avoided by having it road-legal. Need to bed the brake pads in? Need to check the cooling system's working OK? Want to do a bit of fine-tuning of the engine map? Easy, quick blast up and down the A10. Compared to trailering it to a track, and spending money on a test day for such things, the benefits of having a road-registered racer are fairly obviously to me.


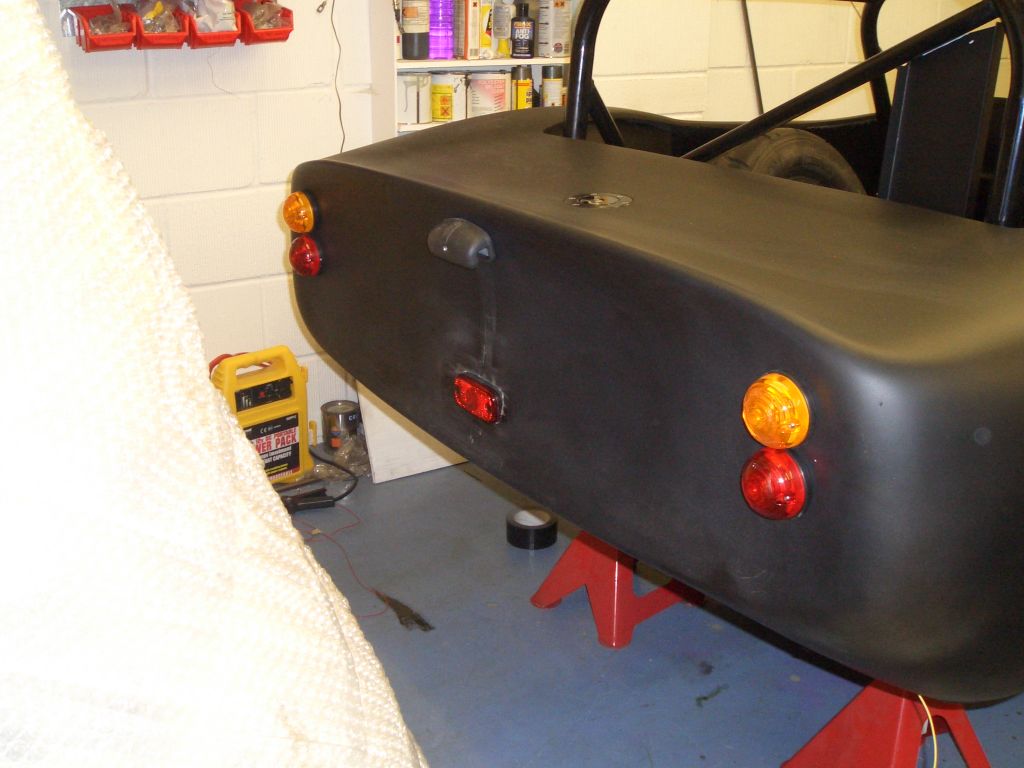
That said, getting the car road-registered will be a bit of a faff. l've built it with SVA in mind, but the SVA test is about to go, replaced by the 'new' IVA test. In fact, the IVA test is awfully like the SVA test, except the noise limits are lower, the car needs a reverse, and the price has gone up from £190 to £450. Given these factors, and the reduced noise limit in particular, I've been quite keen to get the car through under the SVA regime if at all possible. The key deadlines are that the application had to be in by the end of February 2009, the test has to be carried out by the end of April 2009, and the final date for retests will be the end of October 2009. So my application, went to VOSA in the last week of February, and the SVA test is booked for 27th April 2009. Less than a month away.

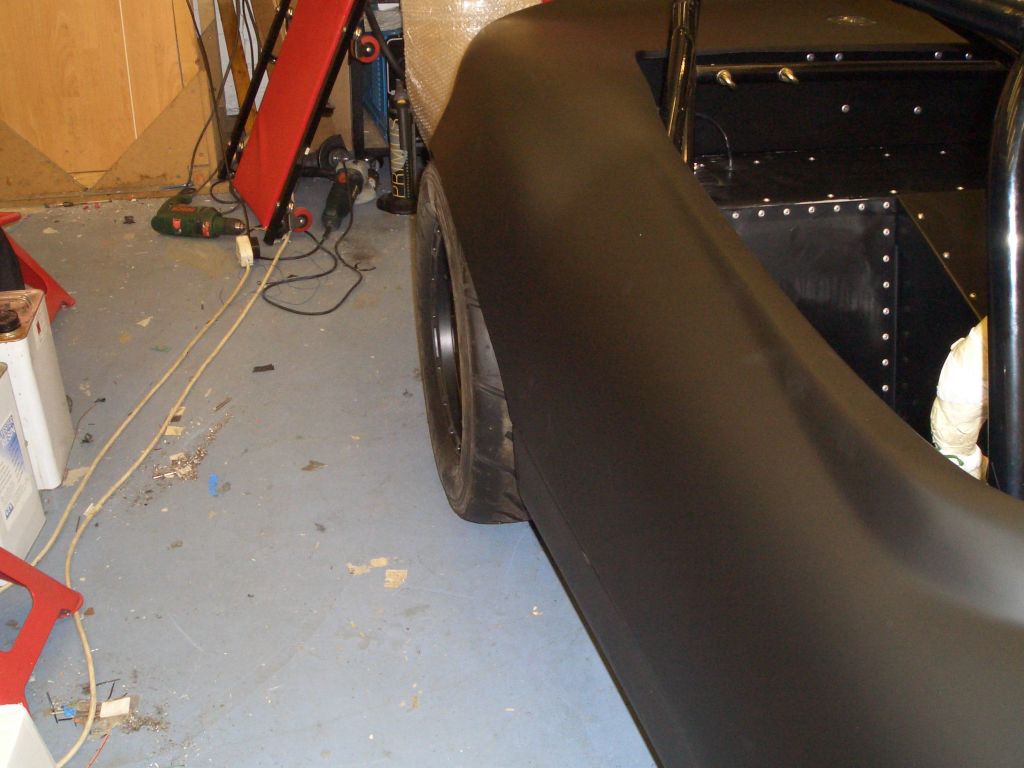
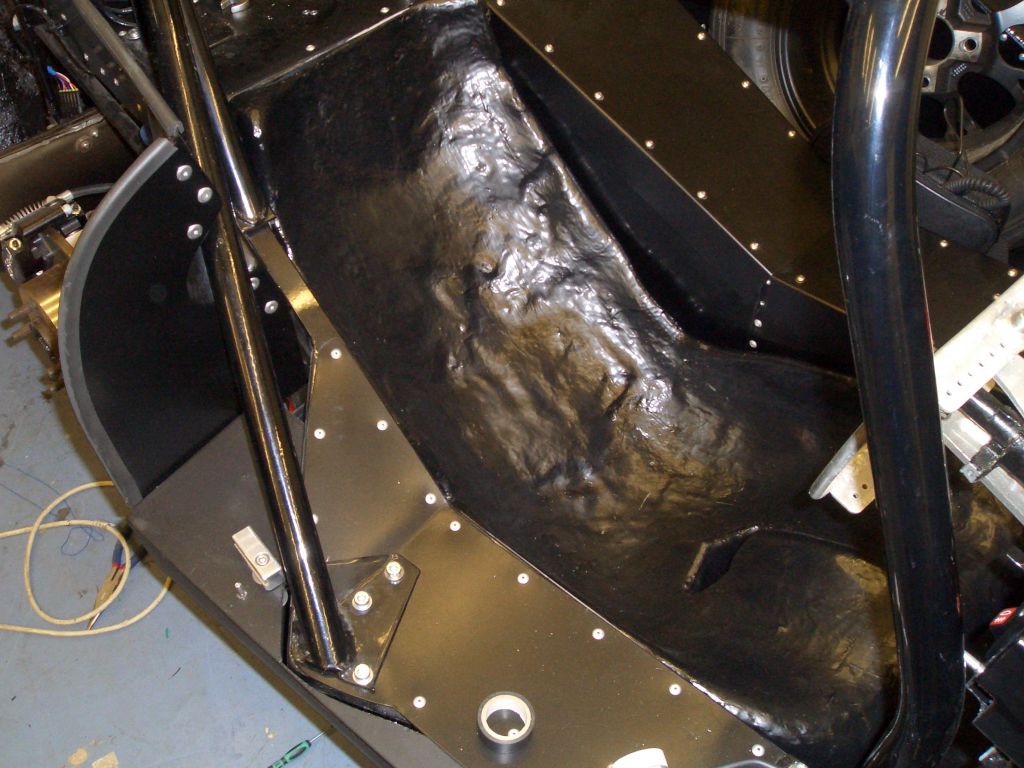
Gulp. Time to get the car finished, then.

Countdown to SVA

  Having painted the main tub and bonnet the next job was to fit them to the car. Rather than hiring a van for the day and putting the panels in it (I couldn't work out a way to protect which didn't involve an inordinate expenditure on bubble-wrap) I took the car to the Shed and put the panels on there (with Jonathan's help). Of course the trailer was at the Shed (about half an hour's drive from home), so my day consisted of

1. Drive to Shed

2. Pick up trailer

3. Drive home with trailer

4. Load car onto trailer

5. Drive car on trailer to Shed

6. Fit panels

7. Drive car with panels fitted on trailer to home

8. Unload car

9. Drive back to Shed with trailer

10. Drop off trailer and then drive back home.

Naturally, this was a rather tiresome process, and I shall use fatigue as my excuse for the fact that I headed off to the Shed at state 5 of the above process having forgotten to fit the straps to hold the car onto the trailer, so the only thing holding it in place was the handbrake. Still, nice to know that it works...

But at the end of the day, I did at least have a fully bodyworked-up Fury in the garage.

I'm pretty happy with the way it looks, although the bodywork could do with another coat of matt black - there are a couple of patches where the topcoat paint is either a bit thin or missing entirely - including the rear quarter where there's a beige patch you can see in this photo where the primer's poking through.

Still, for a racer it's fine, and it's certainly good enough for SVA.
 

Rear wheels

  However, having the car on the ground with the bodywork on showed that the rear wheels are going to have to be changed. While they fill the rear arches nicely, as you can see, they rub on the bodywork badly because I've hockey-sticked the rear trailing arms and dropped the suspension by 3 inches. I've got some rear wheel arch extensions from BGH, and there are no doubt ways I could keep these wheels and adjust the bodywork to suit. But life is simply too short, so when George Polley gets his next delivery in from Compomotive I'll be off there to get another pair of black CXRs, this time with a slightly less wheel-arch filling offset.

Finished seat

I've also spent some time messing around with CSM and resin and topcoat and catalyst to finish the seat off. The first coat of topcoat resin never really went off properly, despite spending quite a lot of quality time in my garden shed with a 2W heater. I suspect I put rather too much pigment in the mix for the wax in the topcoat to work properly - the wax is necessary as gelcoat won't go off properly if exposed to air.

However, a second catalyst-rich (just to be on the safe side) layer of topcoat has solved those issues and the seat is good to go. Just got to bolt it down into place and fit the harnesses. The passenger seat (for SVA) will be the old Fisher GRP shell I used to have fitted in the Furybird I.
 

Anti-roll bar

  The front ARB has been a work in progress for a while. The main bar is just a length of 1/2" mild steel bent into shape by Tim - his vice is rather more studly and more securely bolted down than either of mine. I tried bending the steel in my vice, but just ended up taking my workbench for a walk round the garage. I keep meaning to bolt the workbench to the wall, although I wouldn't be too surprised if at some point it's the wall that lets go first...

The mounting blocks for the ARB and the tops of the drop links I machined myself. The drop links are just short lengths of tube with 5/16" inserts welded in each end, one with a left hand thread and one with a right hand thread so they can be adjusted without unbolting them. The droplinks and ARB are, of course, powder-coated black.

You can see from the photo that I've had to 'relieve' the bonnet frame where it was getting in the way of the ARB as it rotated, but I think everything now has clearance to move through its normal travel, albeit in some cases only by millimetres...

Ultimately I'd like to replace the ARB tube with a hollow version - a 5 foot length of 1/2" steel does weigh a fair bit, and it's not as though the material in the centre of the bar is actually doing anything useful. However, Mr. SVA Tester is not going to be impressed by the resulting weight saving if it means I haven't got round to fitting any rear lights, for example, so time to press on.

Rear lights

So, rear lights it is. The indicator and side/stop lights are standard Wipac units as seen on Landies, Caterhams and all sorts of other stuff. While they have little to commend themselves in the aesthetic department, they're cheap, widely-available, fairly tough and are E-marked. The number plate lamp is the same one that all kit cars use (albeit this one's matt black rather than gloss, to match the bodywork, natch). The only slightly unusual feature on the lights is the fog light, which is a modified aftermarket Mazda MX-5 LED light.

I had to cut away part of the mounting bracket on the top half of the light, and cutting the hole in the bodywork to more-or-less precisely the right shape (as it mounts from the rear of the panel) was a pain, but I think it's worked fairly well. I've glommed it into place with plenty of PU adhesive, having checked that it's vertical, and it's properly E-marked so Mr. SVA Tester shouldn't have any grounds for being grumpy.

And I've checked the rear lights and their associated wiring, and they do indeed work. Hurrah!
 

So the countdown to SVA-day continues. Things To Do include fitting the passenger seat and harness, fitting lots of rubber trim everywhere and lots of bolt and nut covers, leaning off the engine to try and pass the emissions test and fitting the headlights and front indicators.

As well as doing the things outlined above, I've also finished connecting the wheel sensors to the DL1 so that the speedo works - which it does, although I still need to calibrate it. I've also been trying to bleed the cooling system properly and although I suspect my efforts so far haven't completely purged it of air, I have A Cunning Plan which I hope will do the trick. I've worked out why the radiator fan wasn't working though - not having connected its earth wire was a fairly obvious issue to debug. In fact, of all the wiring issues the only ones left are (I think) the fact that the handbrake warning light switch isn't switching, and the fact that the DL1 isn't logging the 4 analogue inputs into the DASH2. I've contacted Race Technology about the latter and live in eternal hope of a useful response.

Headlights next...