9th June 2008

Bonnet fitting

  At this point I was still trying to get the car to the point where I could spray the sidepods and scuttle. One thing I needed to do before refitting the sprayed sidepods (and logically before I removed them for spraying) was to drill the holes required for mounting the pins which the bonnet latches will attach to.

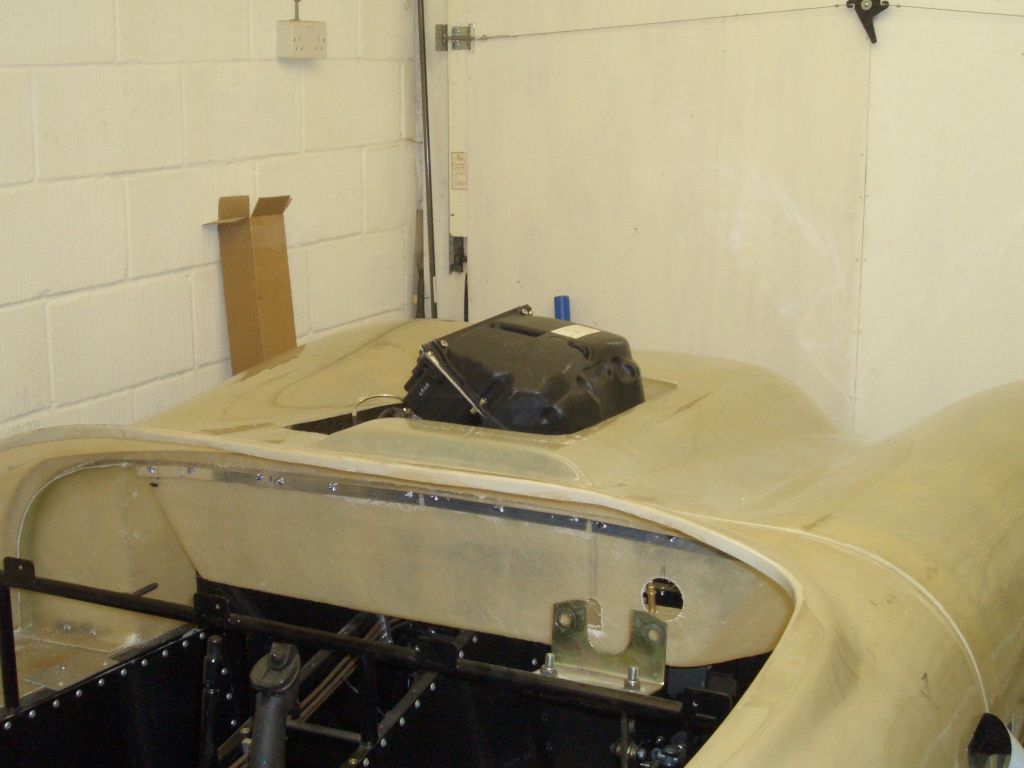
The pins are bolted onto the sidepods, so I fitted the catches to the bonnet (lots of GRP grinding due to the inconsistent thickness of the GRP), fitted the bonnet properly (bolting it into place rather than just resting it on the trolley jack) and marked where the pins would go.

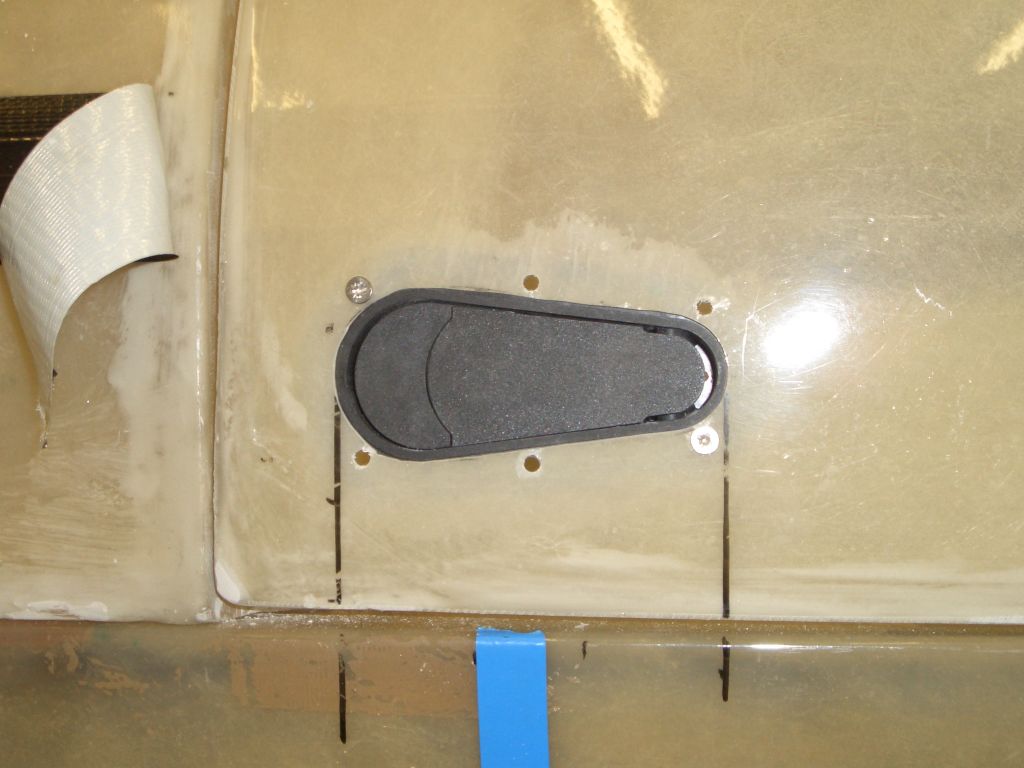
Then I drilled a couple of holes in each sidepod accordingly (I'll need two as I'm making and fitting a kind of captive nut system to hold the pins in place).

While the bonnet was on I had a look at how big the bonnet bulge is going to have to be to clear the airbox (having increased the size of the already rather large hole in the bonnet in order to accommodate the airbox). I think the answer on any analysis is 'quite large'...  

Spraying the scuttle and sidepods

  Having recommissioned the spraybooth (which largely involved sealing all the gaps around it with 18 tubes of builder's caulk) I could then spray the 'pods and scuttle. Before I did the spraying I cut some ventilation holes in the 'pod which will take the exhaust, which in due course I'll line with ali foil.

I sprayed the the 'pods and scuttle (after minimal prep - just rubbing down with a sanding block) with 2 coats of 2-pack acid etch primer and 3 coats of matt black cellulose top-coat.

The finish is far from perfect but the matt black paint covers up a great deal and for a racer it's more than good enough.

Starting the wiring

The internal panels are now back from the powder-coaters and fitting them involves starting some of the wiring - at least, it's going to be a lot easier to put some of the wiring in before the panels go on (like the fuel sender and fuel pump wiring) than it is afterwards. I'm making up the loom from scratch, using thinwall wire I've got from Chris.

Of course at some point I am going to have to keep a note of which coloue wires do what, but at the moment I'll just record for posterity that for the rear section of the loom blue is earth...
 
Internal panels

  With some of the wiring loom in place and various other minor bits and pieces tidied up I could attach the internal panels. Usual procedure - PU adhesive then closed-end rivets. The foam U-shaped trim on the tops of the panels is also held in place with a liberal splattering of PU adhesive down the inside of the 'U'.

The panels are obviously reasonably sturdy - the hatch to the loft area of the garage came adrift from its hinges while I was away for the weekend and evidently landed on one of the side panels. The panel seems to have shrugged off the assault without any damage, happily.

Bits and bobs

Having worked to get the 'pods and scuttle to a position where they could be painted, the next job was to finish off the bits and pieces which would be harder/impossible to do once the sidepods were in place. Things like changing the fittings on the home-made oil take-off plate from straight ones to 45 angle fittings to increase the clearnance between the oil lines and the primary for no. 1 cylinder, and to drill and tap the large bolt holding the oil cooler in place so I could fit an oil temperature sender.

I also fitted the engine bay side panel (having cut a hole for that primay to go though) and took the exhaust apart. It had been assembled with copper grease and I wasn't sure this would be airtight - and if I want to pass the emissions test at SVA I can't have any major leaks in the exhaust system. To seal the joints in the system I've got some horrifically expensive silicone which is high-temperature and won't (apparently) kill the oxygen sensor.

And the big bit of MDF on the right is the errant loft hatch referred to above...
 

  One of the other pre-pod-fitting jobs was to fit the cable for the bias adjuster in place. I've used the largest grommets I could find to give some compliance, although when the brakes are engaged the bias bar is in a line with the cable.

Unfortunately, while I was reassembling the exhaust the handles on the pliers I was using to reattach the springs fell off, while I was exerting quite a bit of force through them. In the ensuing chaos I managed to break off most of the finger nail on the ring finger of my left hand, which I suspect is going to slow me down for a few days...