9th April 2008

More work on the internal panels

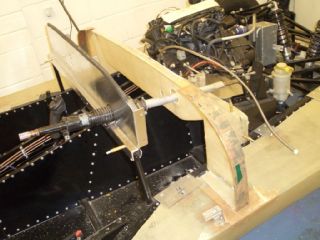
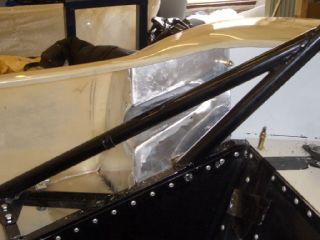
  Because the side impact bar on the driver's side of the roll cage (there's no equivalent on the passenger side since I won't have a passenger to protect) wants to be where the internal panels around the wheel arch want to be, I had to make a recess in these panels to allow the side impact bar to pass through them.

First of was slotting the panels around the side impact bar, then making a filler piece to close the hole (an open gap in the wheel arch panels seemed like a rather bad and potentially damp option), and then welding it into place. With hindsight I should have made the filler piece a rather better fit as although welding it place wasn't particularly hard (thank the FSM for AC TIG welders) I did end up having to glom vast quantities of filler into the gaps between the panels and the filler piece.

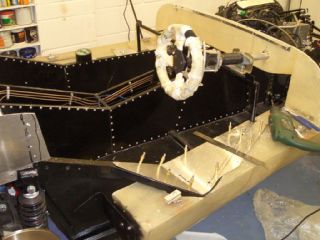
As a result, a fair bit of grinding, filing and polishing was required to get it looking like this.
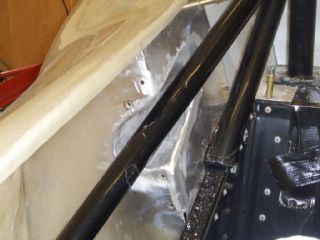
Still, the upside of lobbing loads of filler into the joints meant that there was plenty of meat for me to file away in order to give a nice wide radius.


One of the jobs I've done recently was to wander round the roads near me with a long piece of steel with two little bits welded on either end checking that the car will pass over the speed bumps despite having a chassis to ground clearance of only 80mm at the front and 105mm at the back. The good news is that it will, which means I'll definitely put the car through SVA - if it wouldn't then there wouldn't be much point.

If the car's going to go through SVA then it needs to have no internal edges sharper than 2.5mm. Thanks to all the grinding and filing this panel at least shouldn't present any difficulty in this regard.

The holes left in the panel are from the pop rivets which I used to hold the filler piece in place before it was welded. Once the panel's powder-coated I'll put rivets in them, so that it matches the studded leather look I'm so obviously aiming for...
 

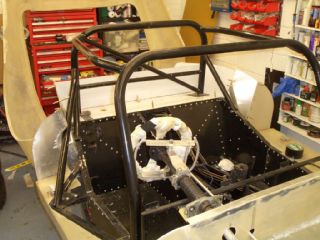
  The equivalent panels on the other side were of course much easier to do, without the side impact protection bar. The panels still need a bit of trimming and tweaking, but they're essentially there bar the powder-coating, fitting and adding rubber U channel trim to the edges.

The next panels to do were the panels on the top of the sidepods. The panel on the passenger is quite small - it just needs to sit underneath the plate on the front hoop of the roll cage. The one on the driver's side is bigger as it needs to cover the hole in the sidepod needed to allow it to clear the side impact structure on the chassis.

These panels will be bolted to the side pods but I won't use Bighead fastners for these, just rivnuts held in place with epoxy - the Bighead fasteners in place should be more than sufficient to hold the sidepods in place, and they're not the lightest fastener around.

With these done, the only internal panels (other than the underfloor panels down the transmission tunnel and under the engine bay) are the dashboard and a little filler panel to cover the large holes in the transmission tunnel top panels necessary to allow the handbrake and reverse levers to pass through it. Then they can all go off to the powder-coaters along with the anti-roll bar.
 

29th April 2008

Still working on the internal panels

  I want to get the internal panels off to the powder coaters before fitting them so I've been concentrating on doing all the panels and other parts which will be powder-coated. The last remaining major panel left to do was the dashboard, which I'd been putting off for a while.

One reason I'd been putting it off is because the scuttle tube (that the bottom of the dashboard bolts to) isn't really in the right place. It's about 20mm too far back, and although some of this may be because I've moved the main tub fowards a little it's not all because of that.

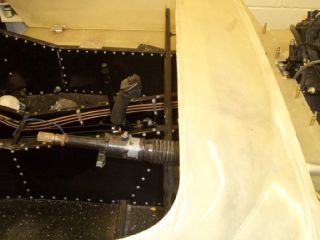
The picture on the left shows the gap after about 15 minutes of clouting the scuttle tube with a lump hammer to try and get it at least to line up with the main tub.
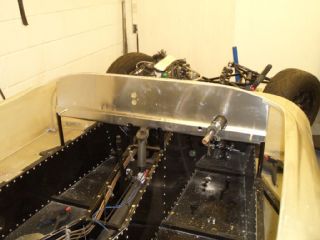
This pic shows the end result. I've put a step in the bottom of the dashboard, just above the tabs on the scuttle tube that it bolts to. The bottom of the dashboard has the 15mm radius required by SVA. Both of which were a bit of a pain to do, as the dash is far too wide to fit in my sheet metal bender. The finish on the bends isn't all that great, but I think it'll look OK once it's been coated. And anyway, it's a racecar...

The small hole next to the steering column is for the gear shift rod, and the holes in the dashboard are for the Race Technology DASH2 digital dash that I'll be fitting.
 

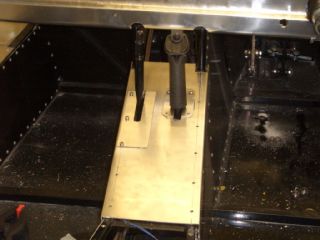
  Only a few minor internal panels left now. In order to get the handbrake lever and reverse mech lever through the transmission tunnel top I had to cut some fairly large holes in them, so to cover up the hole I made these little filler plates which bolt to the transmission tunnel cover into rivnuts. In this picture, the plate on the left around the handbrake lever still has to have the holes drilled and the rivnuts fitted for the bolts which go down the right hand side of the filler panel.

The scrutes at RGB races appear to have become rather more particular than they were previously about the physical integrity of the firewall between the driver and the engine bay. In this case the firewall is the scuttle, and I'd noticed that there was a bit of a gap (particularly on the driver's side) between the scuttle and the bodyshell.

So I decided to extend the return I'd already added to the scuttle along its top edge. The return on the top edge is aluminium angle with a couple of slight bends in it. However, that wasn't going to work too well on the tighter radius curves at each end of the scuttle, so GRP was the obvious answer. I started off by making up some, ahem, moulds for the return with cardboard covered in brown packing tape. Brown packing tape happily works extremely well as a release agent for most laminating resins.
 

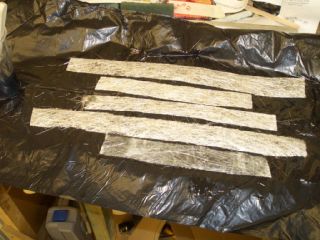
  Next step was the laminating itself. The GRP returns aren't structural, and since the rest of the body is made from CSM and polyester resin I've used the same for the returns. With jobs like this I always wet the CSM with resin before putting it in place - in the picture there are 5 CSM strips (the bin bag's just there so I don't get resin everywhere and to make the resin-impregnated strips easy to lift off), with the bottom one having been wetted with resin.

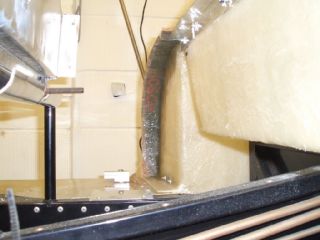
This is the CSM strips laid up against the packing tape and cardboard. For some reason the resin I've got is a dark purple/blue colour before it cures. No idea why.  

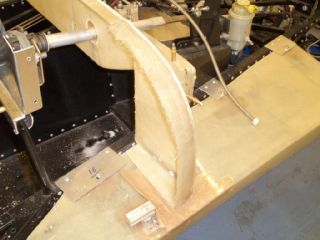
  And here they are with the moulds removed. All I have to do now is trim them down so they're the same width as the ali angle, and then once the scuttle's painted, stick a thin strip of self-adhesive foam on them.